


Green Living

What is a DIY composting toilet?
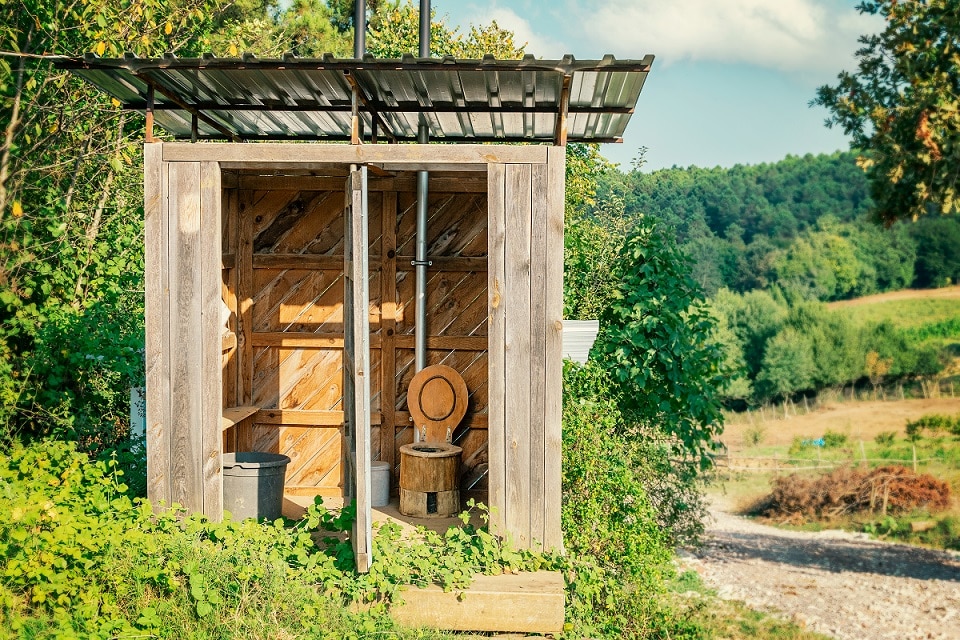
A composting toilet is a system that gathers and composts human waste, enabling you to turn the useless residue into a valuable resource to use in your lawn or garden. While having the same purpose as a traditional privy or outhouse, this system is entirely different, being more sustainable, healthier, and environmentally friendly.
DIY implies that you choose to build this system without professional help and not buy it from a store or manufacturer. However, it doesn’t mean you can’t seek assistance. You can still use resources like YouTube videos, books, or blog posts for guidance and in-depth instructions to set you up for a successful project.
How to easily build a DIY composting toilet
All you need for the simplest model of a DIY composting toilet is a structure similar to a wooden box that enables you to add a toilet seat over a five-gallon bucket. You can then upgrade this product with handles, a urine separator, fan, and other elements depending on your needs, time, budget, and skills.
You’ll need the following materials to get started:
- Two buckets
- A toilet seat
- A piece of plywood
- Four planks of wood the same height as the buckets
- Screws
- Wood glue
- Optional: handles, stain, urine separator
The tools you need to turn these into a functional DIY composting toilet:
- Pocket hole jig
- Electric drill
- Drill bits
- Jigsaw
- Screwdriver
- Woodworking file
- Sandpaper

Step 1 – Build the wooden box
When building the frame for the composting toilet, consider the available space, what needs to go inside the box (bucket, urine container, etc.), and what height is the most comfortable for those using the toilet—ideally, you measure first and buy the buckets after.
Things to remember:
- Include the toilet seat when measuring to ensure everything fits.
- Make sure the system allows easy access so you can empty and clean the bucket when needed.
Cut out the piece of plywood for the top and the four planks of wood to make the four sides of the box. For a more “finished” look, you can use the pocket hole jig to hide the screws when attaching the pieces.
Step 2 – Cut a hole in the center of the plywood piece
You need to measure first and cut after, as with all DIY projects. The hole must have the same size as both the toilet seat and the bucket underneath. Place the seat on the plywood piece, draw a line around its entire inside circumference, and use it to know exactly where to cut.
When you’re happy with the line, drill a hole somewhere on it so you can easily insert the jigsaw blade and easily cut all around it. If you don’t like the rough edges, you can use sandpaper to soften them and get a clean cut.
Step 3 – Paint or stain the box (optional)
Once you’ve finished cutting the hole, you can stain or paint the wood to add an extra layer of protection or simply make your composting toilet look better.
Step 4 – Add the urine separator (optional)
The urine separator guides the liquid into a separate container to make it easy to dispose of urine and reduce moisture in the solid waste bucked. The size of the urine container can vary with how much space you have and your needs. Keep in mind that the average daily urine output for an adult is between 800 and 2,000 milliliters.
Most urine separators are easy to install by screwing them to the underside of the plywood lid. Read the instructions provided by the manufacturer before drilling any additional holes to make sure you have a functional composting toilet.
Step 5 – Attach the toilet seat
Place the toilet seat in the hole and mark the drill holes. Then, drill small holes and use screws to attach the toilet seat to the piece of plywood.
Step 6 – Build legs for the wooden box
This extra step prologues the structure’s life, as it protects the box from the water that might be going on the floor. Place pieces of wood at the corners and attach them to the structure.
Test the structure to ensure it stands firmly on the floor, and none of the legs is shaking.
Step 7 – Place the bucket inside the structure
Before placing the bucket, add a few inches of sawdust or other cover material. Without this absorbent, the system will not work. Instead of flushing, you will cover the waste with more of this material, so always keep some on hand.
Step 8 – Upgrade your system
This basic model is just the first step. If you want to reduce maintenance frequency, you can invest in additional elements that enrich your composting toilet and increase its functionality—such as a fan to dry the excess liquid, solar panels to provide energy for the fan, etc.
How does a composting toilet actually work?
The composting toilet is built to facilitate decomposition—bacteria break down the human waste into fertilizer either through either anaerobic or aerobic decomposition, depending on the system you have. Eco-friendly toilets can also convert waste into clean energy, promoting sustainability and hygiene.
The cover material works as a carbon additive in your DIY model, making this process possible with zero health risks. You can use coconut coir, sawdust, peat moss, or even crushed dead leaves. These products create air pockets to support the decomposition process while keeping odors away from your bathroom.
When the bucket is full, you simply empty it into a dedicated composting container. This way, the decomposition process continues until the fertilizer is ready to be used on your lawn or garden. A complete cycle can take anywhere between a few months to a year, depending on climate, volume, and whether you choose to accelerate the process with innovative technology.
Top reasons for owning a composting toilet
- A composting toilet helps you live in a self-sustainable manner, being an effective waste management solution in multiple circumstances, such as mobile or off-grid homes.
- You can build it anywhere, as it doesn’t require plumbing or sewage.
- Most models are waterless or need minimum amounts of water to function correctly.
- When built correctly, the system has no odors.
- The composting toilet produces organic fertilizer you can further use to support plant growth with minimum impact on the environment.
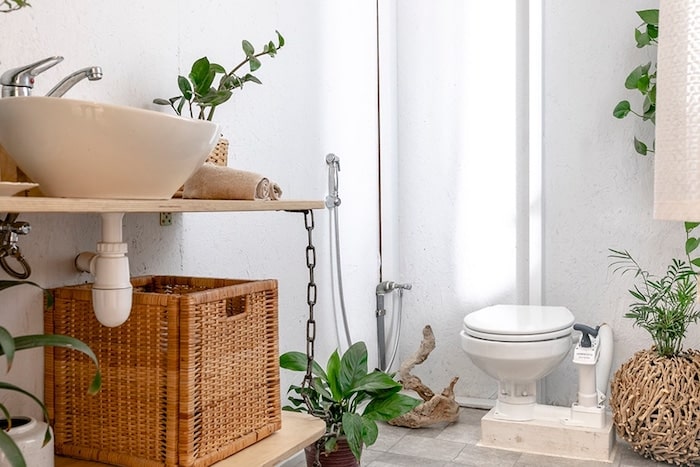
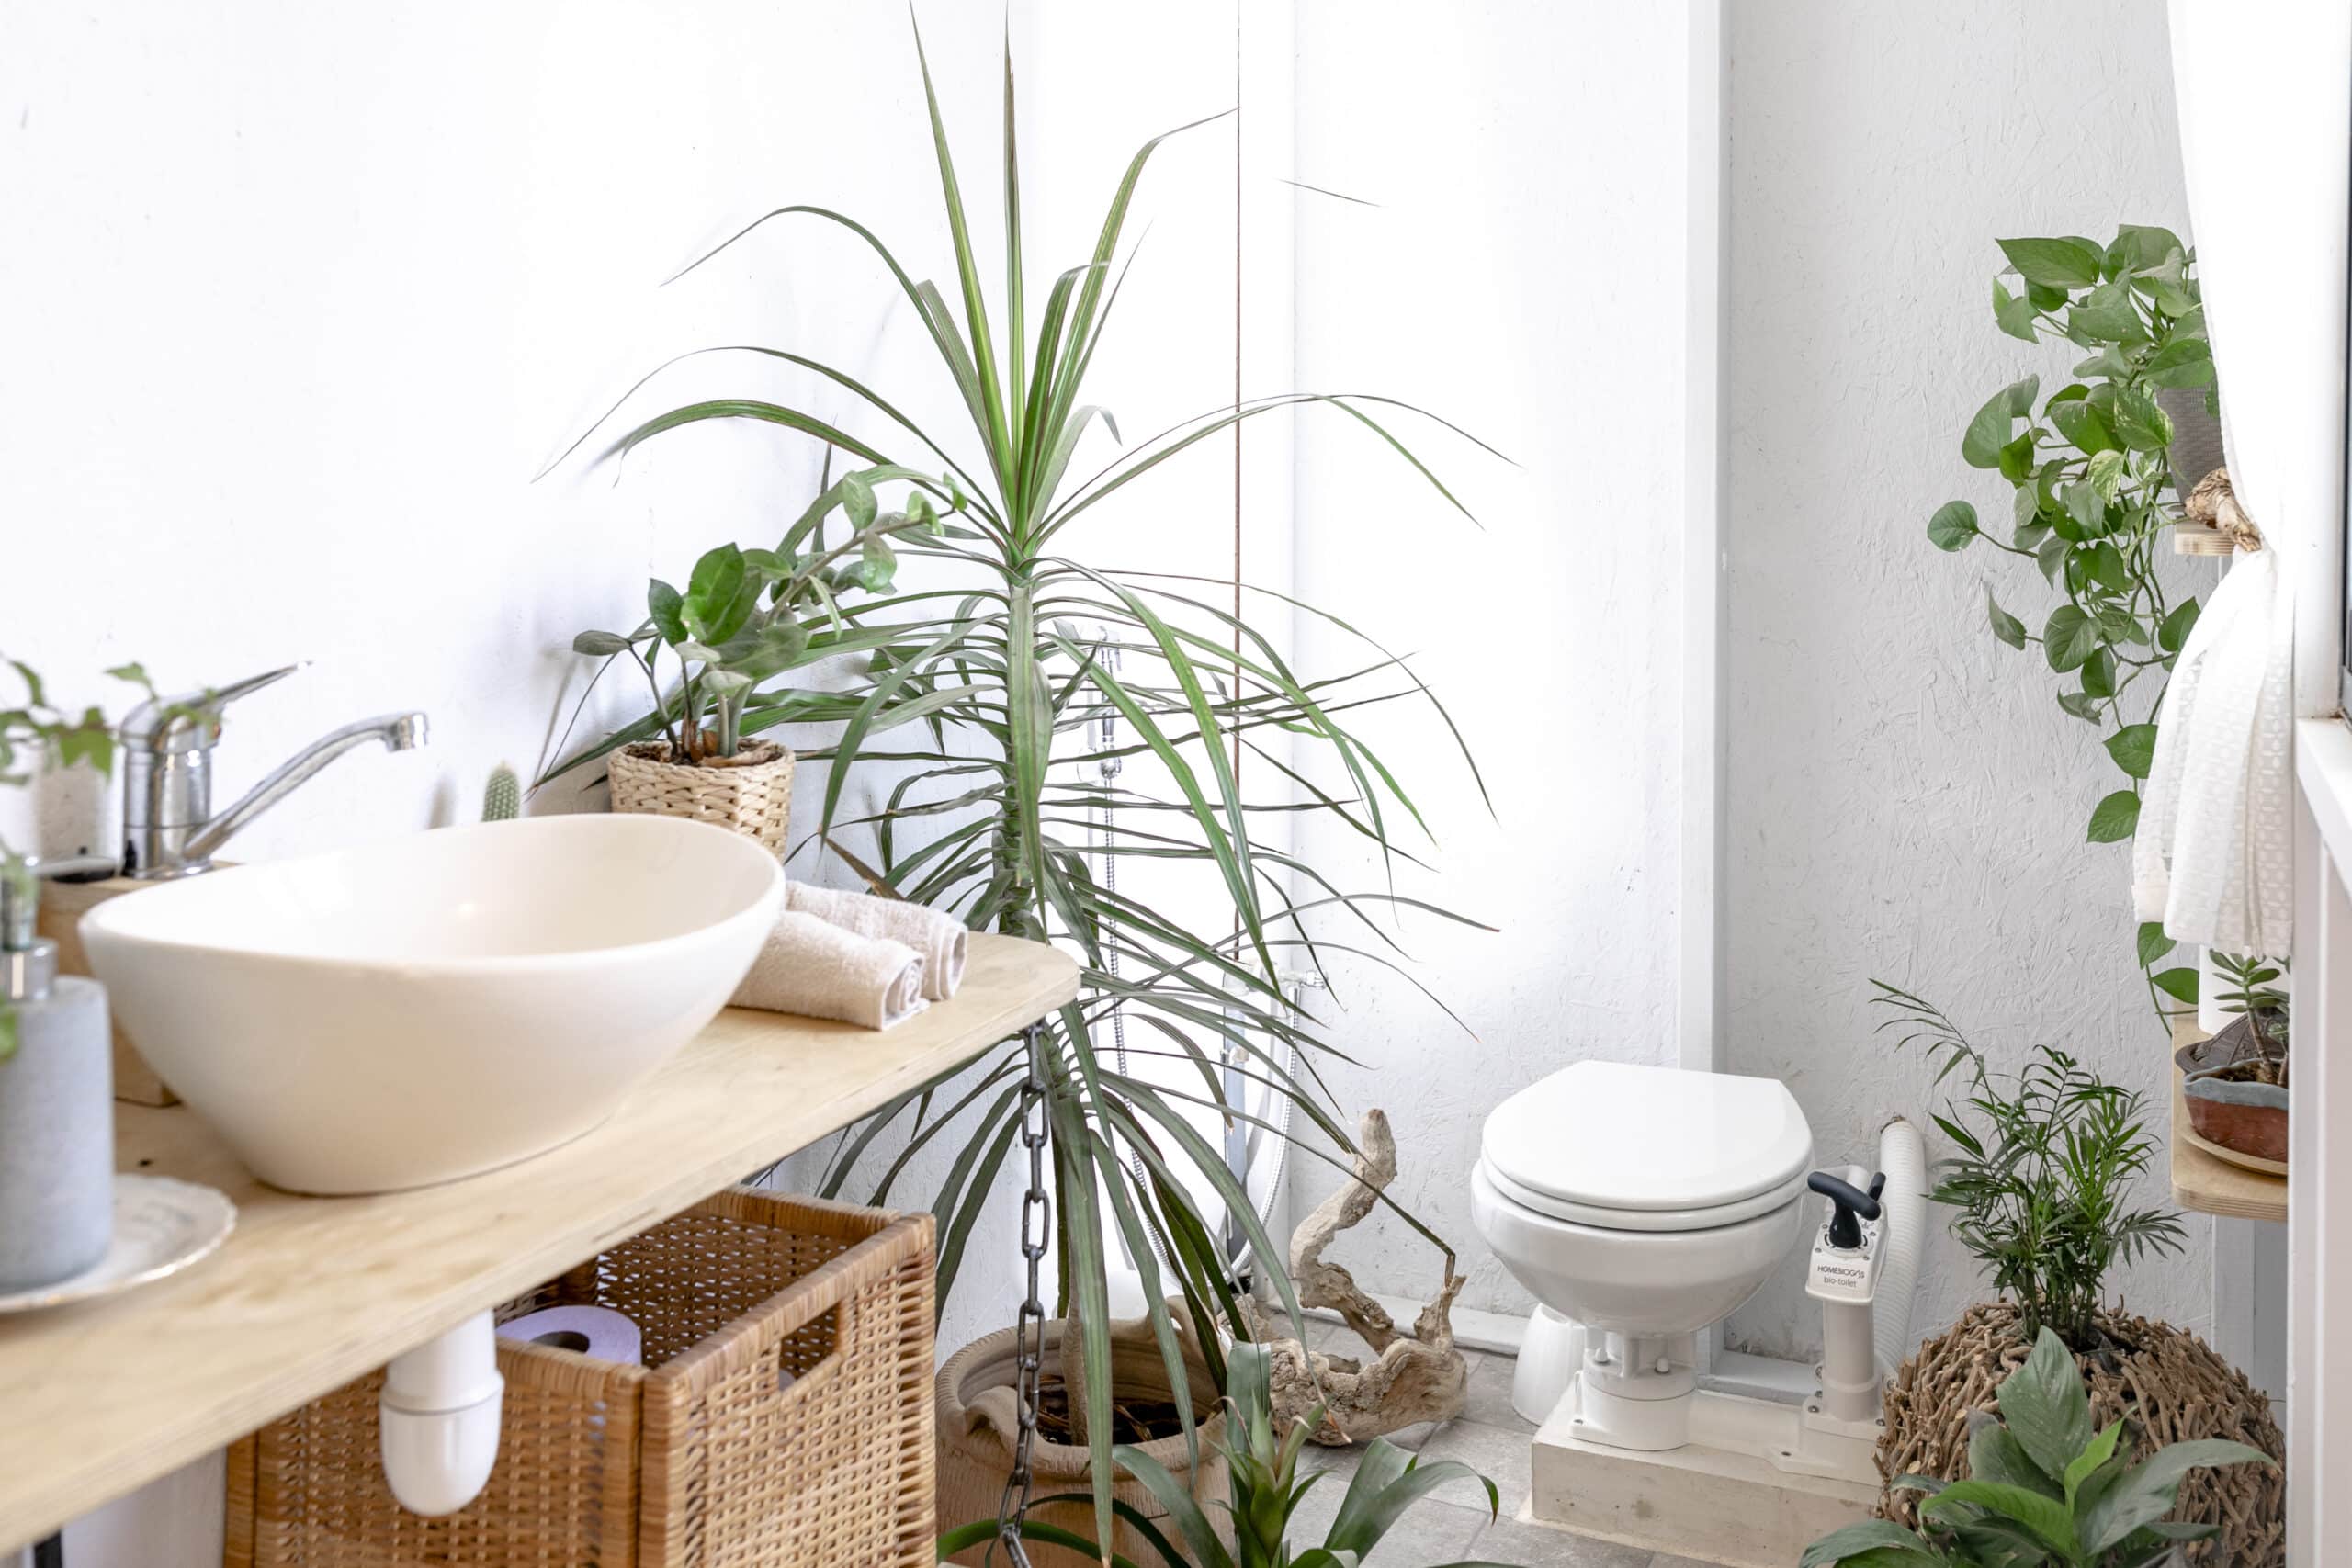
HomeBiogas Bio-toilet
Designed for the next generation of green innovation.
What about waste management issues?
Composting toilets solve a significant problem for homeowners who live off-grid. Instead of dumping untreated waste on fields, they can use this sustainable, self-sufficient method to reduce water consumption.
However, before building a composting toilet, you want to check local laws and regulations and see whether you need to meet specific standards for waste disposal.
Regular vs. composting toilets – pros & cons
Traditional toilets can make up to 27 percent of the total water consumption in a household—a family can easily flush around 30,000 liters of water a year. We consume high amounts of energy to treat and recycle this water.
And this is just the tip of the iceberg. If you live off-grid, installing a traditional toilet requires a high investment in piping and a complex waste management system. And the overall impact you have on the environment is significantly higher than with a composting toilet.
Sure, installing a composting toilet has its cons. The system doesn’t come cheap. Moreover, you have to handle the composted waste manually, and you need to nail how the system works to eliminate odors. If you have specific design requests, you might not find a composting toilet that meets your expectations.
Types of homemade composting toilets
The two most common DIY composting toilets are self-contained and central (or remote).
The self-contained composting toilet keeps the waste in the bathroom, usually under the toilet seat or the bowl. The system works best for mobile or small homes, where the space is limited. The reduced dimensions make this alternative suitable for a small number of users.
The main advantage of such a system is that you can quickly build it yourself. The main disadvantage is the small storage area size, which means you’ll have to empty it often and probably have several containers ready when you need to substitute the full one.
On the other hand, a central composting toilet uses pipes to transport the human waste to a tank placed in a different location, where you store it and facilitate the decomposition process. This location is usually somewhere underground outside the house or in the basement. Thanks to the increased capacity of the tank, this composting toilet doesn’t require daily emptying or cleaning.
The system can support several toilets in a household, being suitable for larger homes and multiple users. You can use bowls that look like traditional toilets for a modern design. However, its complexity makes it more expensive and not always suitable for a DIY project.

Maintenance requirements for composting toilets
Many composting toilets require regular emptying and cleaning—as a rule of thumb, the simpler and smaller the system, the more you’ll have to work to maintain its functionality.
A DIY composting toilet needs to be emptied. The frequency of this task depends on what “full” means to you and how much weight you can lift. In plain English, this task will become a regular part of your daily chores.
To make the process easier, you’ll need clean buckets and cover material on hand so you can quickly switch out buckets and equip them whenever necessary.
Additionally, you’ll need a functional, environmentally-friendly compost bin nearby where the waste can be wholly decomposed to obtain organic fertilizer.
Are there any ready-made DIY composting toilets
The short answer: yes. If building a composting toilet seems too complicated, or you want a modern system that requires less maintenance, you can buy one.
Luckily, you can choose from multiple models of composting toilets one that better meets your needs and your budget. Prices start at a few hundred dollars and can go up to several thousand—usually, the more you spend, the less you’ll have to worry about handling human waste.
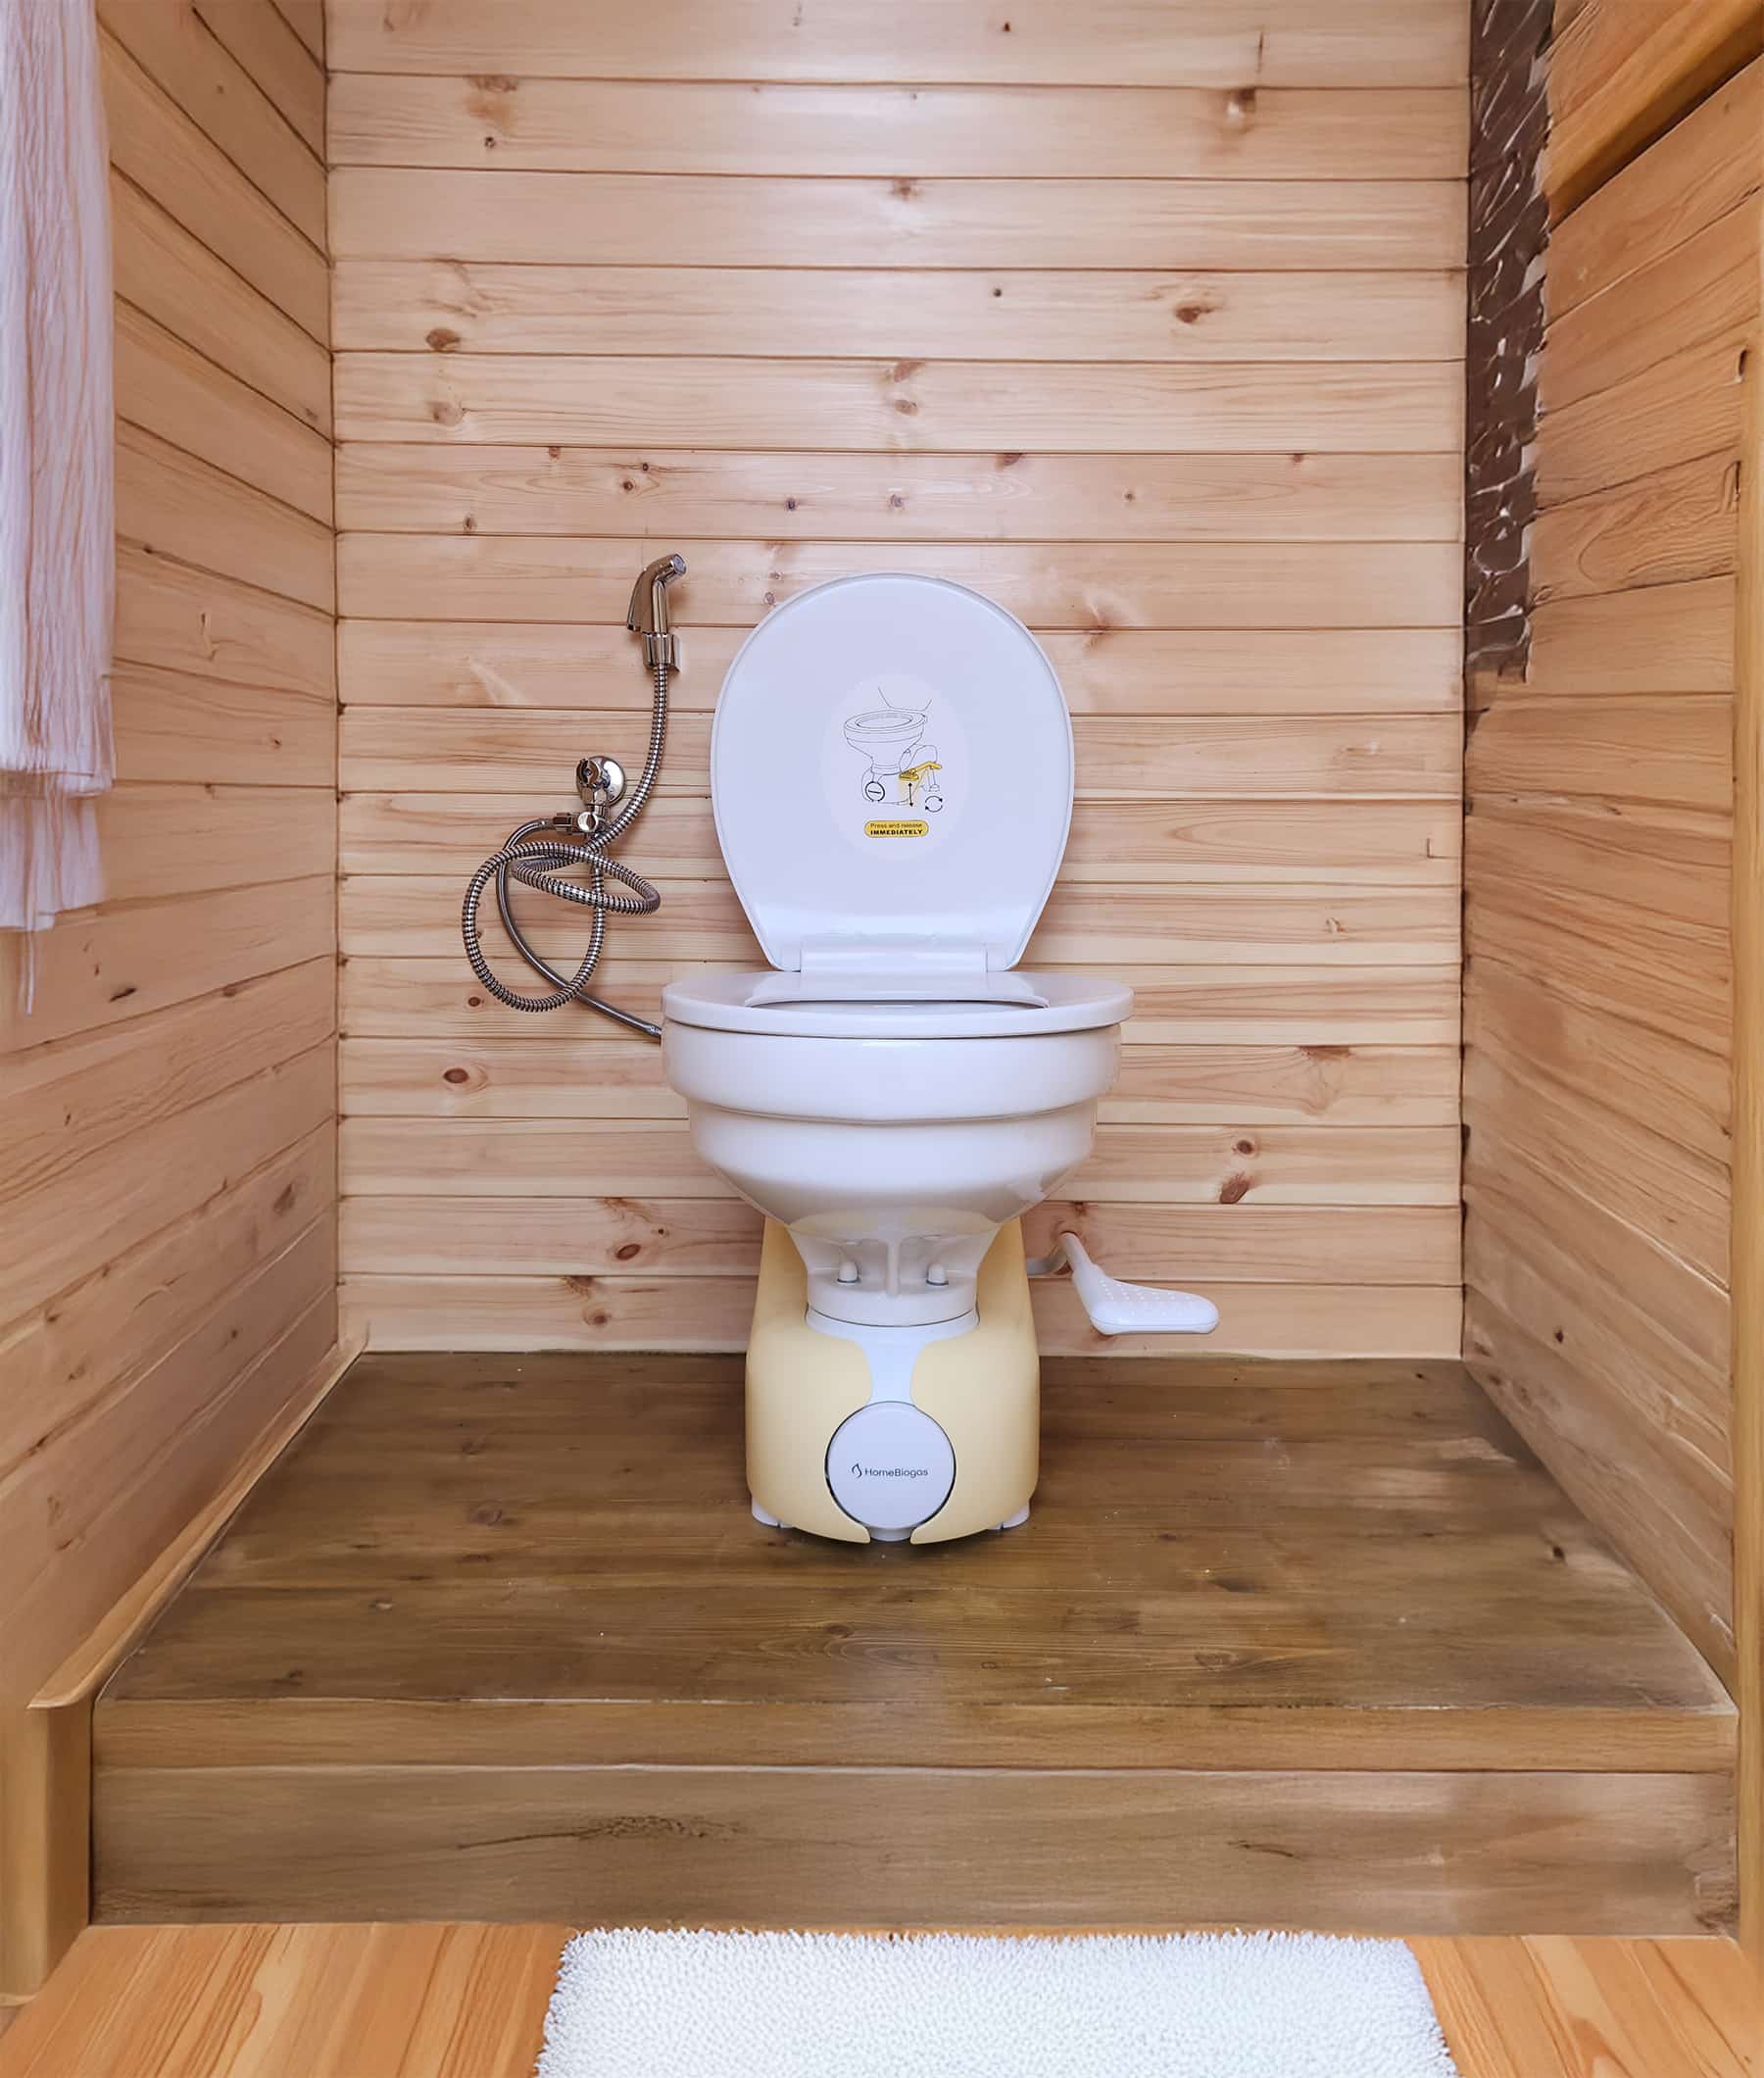
HomeBioGas easy-install composting toilet
The HomeBiogas Bio-Toilet Kit is an innovative alternative to the traditional compost toilet, being equipped to produce fertilizer and biogas for cooking. This anaerobic system breaks down waste and transforms it into renewable energy.
You can’t build such a system from scratch, but you can install the kit yourself, as the installation is safe and hassle-free. The product comes with an installation manual (plus YouTube videos for extra guidance) and an instructions sticker, so all your guests are comfortable using the system.
The HomeBiogas Bio-Toilet Kit is 100% environmentally friendly, ideal for off-grid properties.
Conclusion
Building your composting toilet isn’t difficult, and if you go for a simple version of the system, it can cost less than $100. Plus, if you follow the instructions and always use the proper quantity of cover materials, you’ll have a safe and odor-free system.
However, if you want a modern composting toilet that requires minimum to no maintenance, you might want to look into more complex solutions. They might cost more than a bucket in a wooden box, but the results are also more comfortable and less demanding in the long run.
Luckily, ready-made DIY (or, better said, install-it-yourself) composting toilets are available for all budgets and climates. Do your due diligence and pick a suitable product for your property.