

Knowledge Center

What is biogas, and what can you do with it?
It’s a versatile, renewable energy source obtained from organic raw materials, known as feedstock. If you’re wondering how to make biogas at home, the most common materials used for biogas production are crop byproducts, farm residue, manure, municipal waste, plant material, sewage, wastewater, and food waste.
Thanks to its composition, biogas can serve multiple purposes:
- It can power generators and combined heat and power (CHP) systems to produce electricity and heat. If you’re interested in how to make biogas at home, utilizing a biogas digester or a complete biogas kit can be a viable option.
- It can substitute fossil fuels like natural gas, propane, or wood, reducing reliance on non-renewable energy sources. Learning how to make biogas at home can help you contribute to a greener and more sustainable energy future.
When purified, biogas becomes biomethane, which can serve as transportation fuel, either by itself or blended with natural gas, reducing greenhouse gas emissions from vehicles. Additionally, it can provide heat for various manufacturing processes.
Producing biogas at home not only generates renewable energy but also prevents methane emissions from decomposing waste because the organic matter ends up in the biodigester instead of landfills. Moreover, the residue left after anaerobic digestion, known as digestate, is a nutrient-rich fertilizer that supports sustainable farming practices. So, understanding how to make biogas at home can have significant environmental and agricultural benefits.

How to make biogas at home
You’ll first need a biogas digester (also known as a biodigester or anaerobic digester). This sealed container enables microorganisms to break down organic materials without oxygen. The process is called anaerobic digestion and ends when the input turns into biogas and a nutrient-rich byproduct called digestate.
Let’s take a closer look at the most common types of biodigesters to help you pick the right system.
Fixed-dome digester
- It has a dome-shaped chamber for anaerobic digestion and a separate gas storage space.
- Suitable for DIY projects: Yes, especially for smaller-scale DIY projects, thanks to their simple design and construction.
- Maintenance: minimal maintenance once correctly constructed.
- Productivity: moderate to high (suitable for consistent biogas supply in smaller-scale applications). However, the gas pressure might be relatively low, requiring additional measures to increase gas flow.
Floating-drum digester
- It has a digester chamber and a floating gas holder, which acts as a flexible lid that rises and falls with the biogas volume.
- Suitable for DIY projects: yes. The digester chamber includes a floating gas holder that rises and falls with the biogas volume. The gas holder acts as a flexible lid, providing space for gas storage.
- Maintenance: regular maintenance to ensure proper functioning.
- Productivity: moderate (fluctuations in gas pressure might occur due to the varying gas volume).
Plug-flow digester
- It features a long, narrow chamber where the feedstock flows continuously.
- Suitable for DIY projects: only for larger-scale projects requiring skills and expertise.
- Maintenance: Proper mixing, temperature control, and monitoring of gas production are crucial for optimal operation. The long digester chamber needs periodic cleaning and removal of any accumulated solids.
- Productivity: high

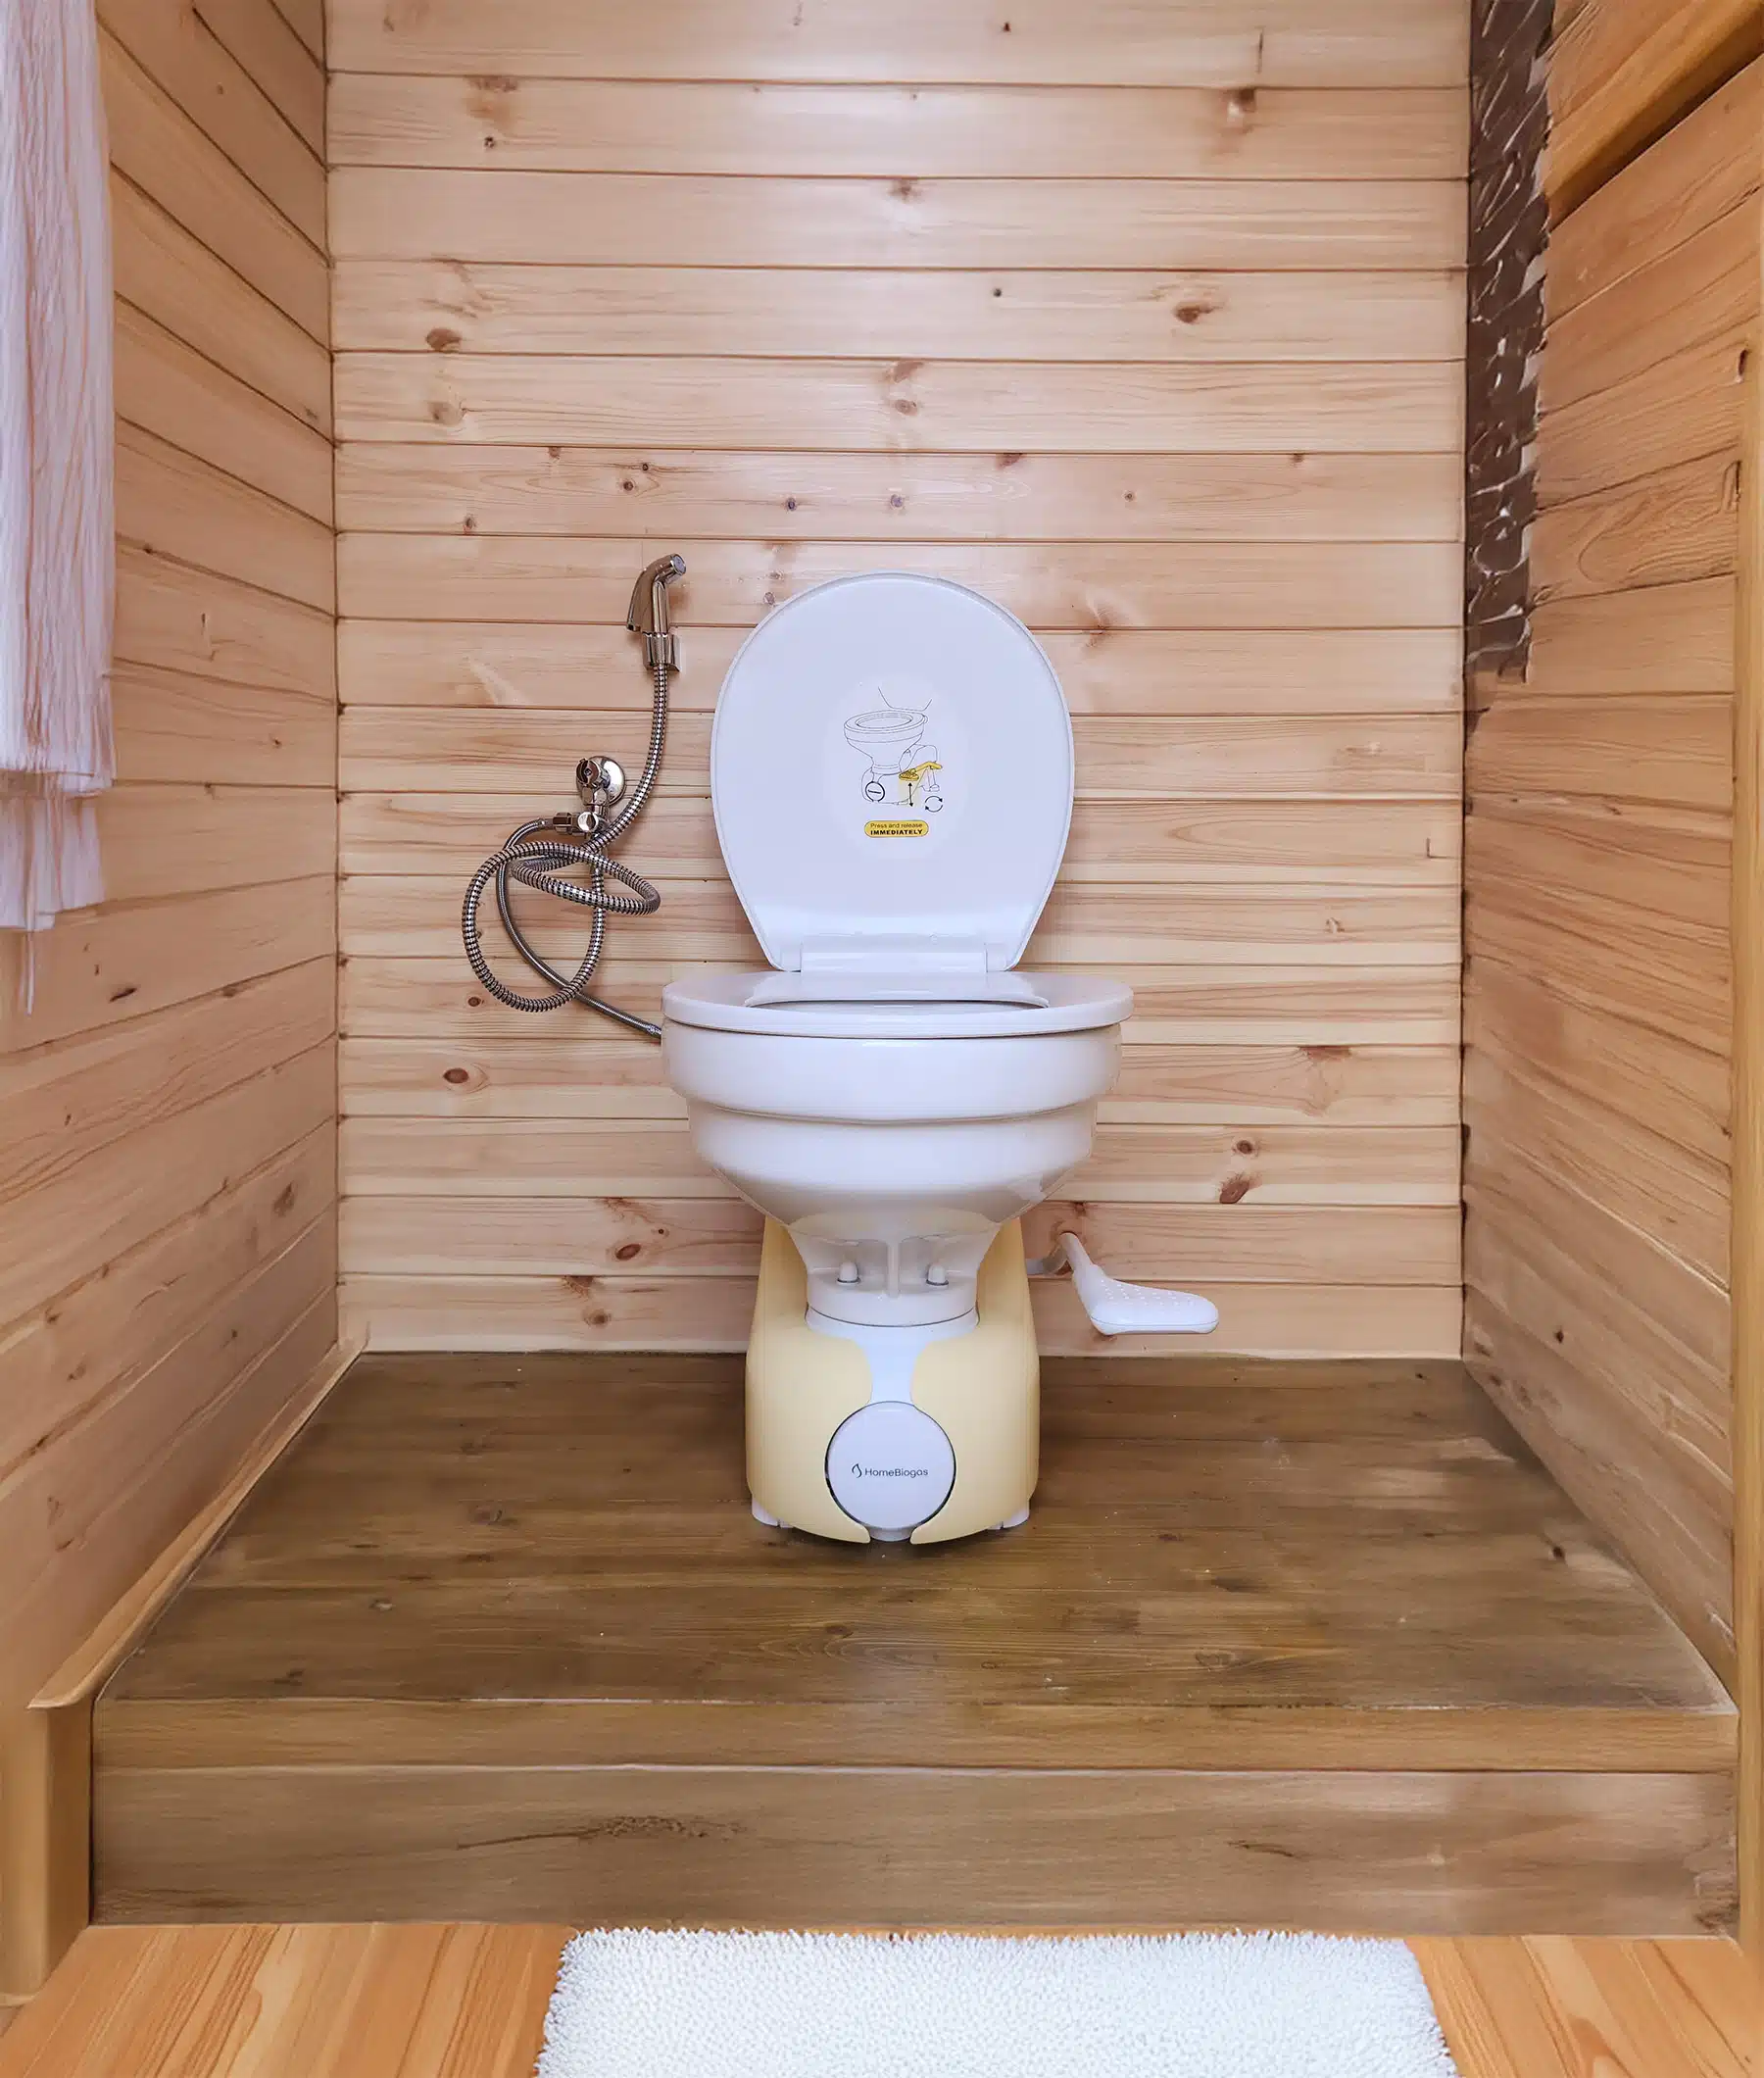
Buying a biodigester or a complete biogas kit, such as the HomeBiogas system, can speed up the process. However, building your biodigester from scratch can also provide consistent green energy. Here’s how you can get started.
Step 1. Create a biogas digester
Different types of biodigesters will have unique designs. However, most models need similar components.
- A digester tank — it’s a sealed container where the anaerobic digestion takes place. It can be made of concrete, steel, plastic, or flexible membranes. What matters is that it can withstand internal pressure and provide an oxygen-free environment for microbial activity. Recommended capacity: minimum 700 liters (185 gallons)
- A feeding system (inlet) — it’s an inlet pipe or opening that allows you to introduce organic waste into the digester. Recommended dimensions: 100 m (3 feet) long PVC pipe with a diameter of 7.5 cm (3 inches)
- A stirring system — you can opt for gas recirculation or get a mechanical or hydraulic mixer. It prevents the formation of floating layers and accelerates the fermentation process.
- A gas collection system — it’s typically a gas outlet pipe connected to the digester and transports the biogas to a storage unit or the end-user device. You’ll also need gas valves, T-connectors, and tire tubes to create an airtight seal around the connections and efficiently direct the biogas flow.
- Ventilation — you’ll need an exhaust pipe or vent to prevent the accumulation of potentially harmful gases like hydrogen sulfide inside the digester.
- Temperature control — depending on your location, you may need heating elements to maintain an optimal temperature for bacteria to thrive inside the digester.
- Instruments for monitoring — think gas flow meters, pressure gauges, temperature sensors, pH meters, and gas composition analyzers.
- A digestate outlet system — you can opt for a pipe or valve to easily extract the digestate for further treatment or to use as fertilizer. Recommended materials: a 60 cm (2 feet) long PVC pipe with a diameter of 7.5 cm (3 inches)
Before you start your DIY project, familiarize yourself with the type of biogas digester you want to build and determine the size suitable for your needs. Consider the availability of feedstock and the intended use of the biogas and digestate.
Then, assemble the various elements following a scheme to ensure you don’t forget any components.
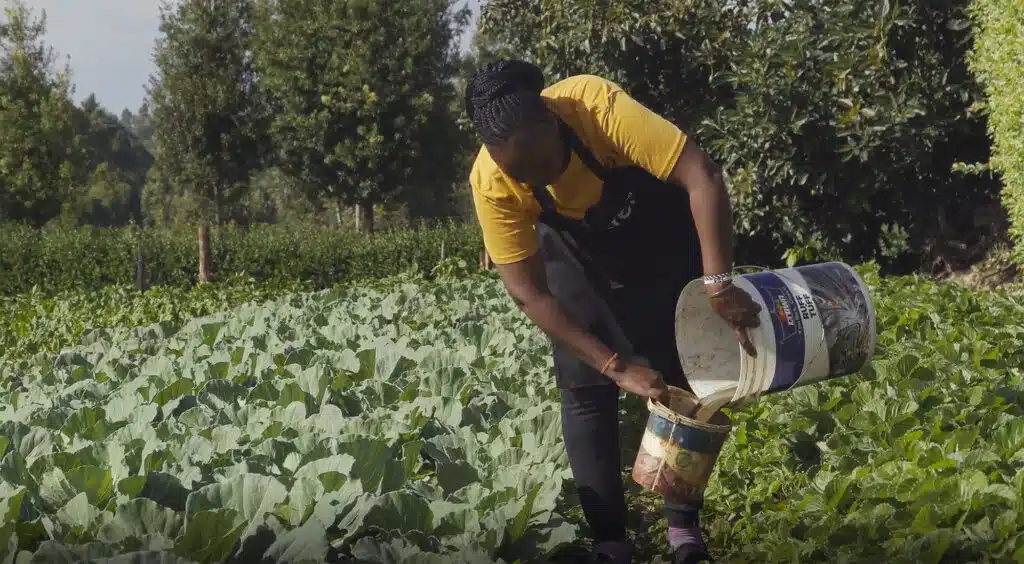
Step 2. Collect and store organic waste
Make a list of all the types of organic waste suitable for biogas production. Common sources include food waste, kitchen scraps, agricultural residues, animal manure, or plant materials. Then, you want to start looking for sources of organic matter (if you don’t produce enough).
You must only use waste free from non-biodegradable materials, such as plastic bags, packaging, or metals.
When it comes to storing organic waste for making biogas, it’s a good idea to use separate containers or bins for different types of garbage. It makes it easier to manage and collect everything.
Choose airtight containers to keep pests away and prevent unpleasant odors. Keeping these containers in a shaded area is also helpful.

Step 3. Prepare the digester
The biogas digester tank must be clean of any leftover residue or debris for a successful start of the digestion cycle. Also, inspect all the components, like valves and pipes. Double-check that everything is connected correctly and in good working order.
Last but not least, confirm that the digester is airtight. Only a good seal can maintain the right conditions for the process.
Step 4. Load and mix waste in the digester
Load the organic waste into the biodigester to get things rolling. You can combine carbon-rich materials (food waste or agricultural residues) and nitrogen-rich materials (animal manure).
Depending on the type of digester and the feedstock used, you want to follow a specific feedstock-to-water ratio to ensure a perfect balance. For example, if you use cow dung, you’ll need 10 liters of water for every 10 kg (22 pounds) of waste. If you experiment with different feedstock compositions, adjust the water amount accordingly, considering that the ideal moisture range for efficient biogas production is typically between 70 and 80%.
Now, here’s the fun part – stirring! Mix waste and water thoroughly to create a smooth and homogenous slurry. It’ll help those hardworking microorganisms do their job effectively.
As you add more feedstock, maintain moisture levels so that anaerobic digestion happens under the best possible conditions. If the waste is too dry, add water. Conversely, add dry organic materials like sawdust or straw if it’s too wet.
Step 5. Establish optimal operating conditions
To keep things cozy inside the digester, maintain the temperature between 30 and 40°C (86 – 104°F). This temperature allows the bacteria to work their magic efficiently and provide a consistent biogas flow for your daily needs.
Another metric to watch closely is the pH — how acidic or alkaline the digester environment is. Ideally, the pH level stays between 6.5 and 8.0. If you notice any deviations from this range, use pH buffers or additives to correct the imbalance.
Remember that the bacteria inside the biodigester need a start-up period to adapt to the new environment. Depending on the type of digester and the feedstock, it can take anywhere from a few days to a few weeks. So, be patient and let nature take its course as the microorganisms settle in.
Step 6. Capture and store the biogas
Connect your gas collection system to a gas storage tank. You want to ensure it’s airtight and designed to handle the pressure of the biogas — make sure you have the proper valves and fittings to let the gas in and out when needed.
Find a good spot for your gas storage tank. It should be in a safe area with good ventilation. Keep it far away from anything that could ignite. As you go along, monitoring the pressure inside is essential to ensure it stays within the recommended range.
Add gas filters to your system. A moisture filter, for example, removes water particles from the biogas, ensuring dry gas flow and preventing potential damage to the biogas stove. An H2S (Hydrogen Sulfide) filter might also be helpful to remove H2S from the biogas and prevent potential health hazards.
Step 7. Use your biogas
Once your gas storage tank is set up, it’s time to connect it to your end-user devices. These devices can be gas burners, stoves, generators, or any equipment specially designed to use biogas.
Proper ventilation is vital, so make sure you have good airflow in the areas where you use biogas. This helps prevent any potential issues with gas buildup or inadequate oxygen supply. Regularly check for any signs of leakage and promptly address them to keep things safe and efficient.

The potential risks of biogas generation at home
- Anaerobic digestion releases potentially harmful gases like methane and hydrogen sulfide. If inhaled in high concentrations, they’re toxic and pose significant health risks.
- The accumulation of biogas in enclosed spaces can lead to dangerous situations because biogas is highly flammable.
- The equipment used for biogas production, such as pumps, mixers, or gas collection systems, may present mechanical hazards if not properly maintained or operated.
- Improper management of digestate can lead to pollution of soil and water sources.
Safety first: How to generate biogas safely
Learn about the risks and safety measures involved
Before you get started with biogas production, attend a training program or consult resources related to biogas generation to gain knowledge and skills. You’ll also learn more about safety guidelines, regulations, and best practices for biogas production.
If you need clarification on biogas generation, consult experts or professionals experienced in biogas systems. They can provide valuable guidance and advice specific to your setup.
Build your biogas system correctly
If you build your system from scratch, buy appropriate materials, double-check pipe connections, and invest in top-of-the-class gas-tight seals. Regularly inspect and maintain the system to prevent leaks, corrosion, or potential hazards.
If you buy a biogas system, follow all the recommended guidelines for installation and maintenance.
As a general guideline, it’s best to install your biodigester outside. If you place it in an enclosed space, it’s crucial to provide proper ventilation and airflow to prevent the buildup of potentially harmful gases.
Keep the biogas production area clear of flammable materials and ensure proper grounding of electrical equipment.
Install gas detectors or sensors
Install gas detectors or sensors near pipes and devices that use biogas. Continuously monitor gas levels and promptly take action if high concentrations are detected.
Remember to regularly check the functionality of these detectors and replace batteries as needed.
More resources
- The complete biogas handbook
- Biogas For Beginners: Off Grid Eco Power a DIY Guide
- Sustainable Solutions for Your Home
- Methane Production Guide – how to make biogas. Three simple anaerobic digesters
- The open-source virtual Hackspace for “Biogas Innoventors and Practitioners.”
- Energy from Biomass
Recap
Building a biogas digester from scratch requires DIY skills and awareness of potential risks and ways to minimize them. It’s highly recommended to do your research and invest in durable materials compatible with the storage and transportation of biogas. Alternatively, you can also consider purchasing a biogas kit from reputable companies like HomeBiogas to simplify the process and ensure reliable performance.

The other vital element to keep in mind is the quality of the feedstock. You’ll need to feed the bacteria inside the digester constantly to secure a consistent biogas flow, so ensure you have enough organic matter all year round.
The good news is that making biogas at home is straightforward once you’ve completed the setup, and the long-term benefits are worth the upfront efforts.